
Tips and Tools
How to Use a Clip-On Tuner Like a Pro
Feb 13, 2025
A clip-on tuner is an essential tool for any musician, offering quick and accurate tuning by detecting the vibrations of the instrument. Whether you're a beginner or a seasoned professional, learning how to use a clip-on tuner effectively can make tuning your instrument easier and more precise. In this guide, we’ll walk you through how to use a clip-on tuner like a pro, offering helpful tips and techniques to get the best results.
What Is a Clip-On Tuner?
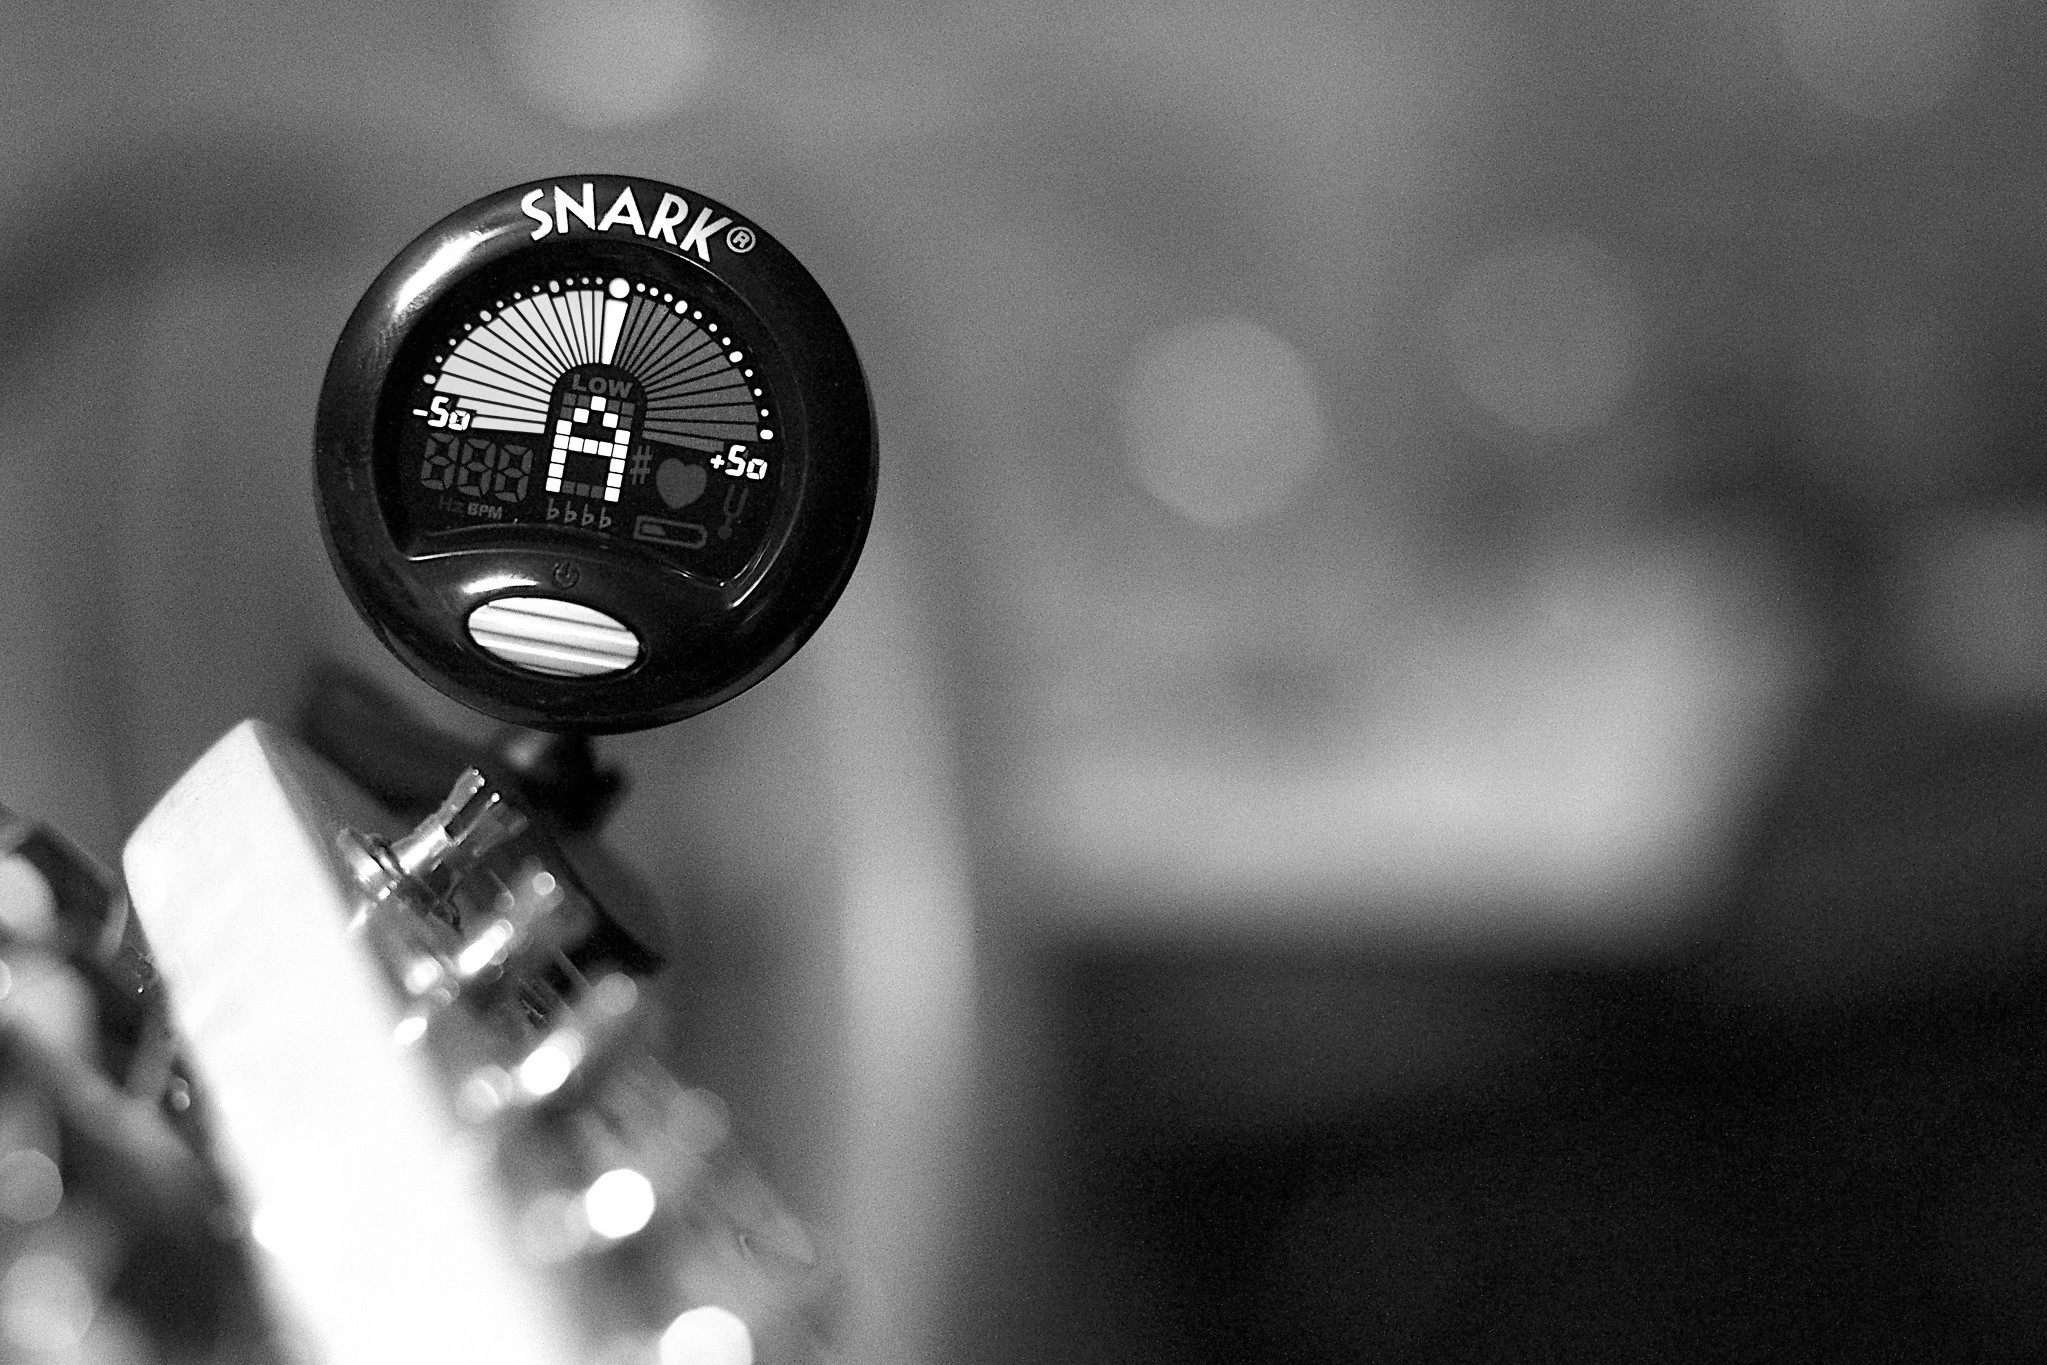
A clip-on tuner is a small, portable device that clips onto your instrument, typically attaching to the headstock of a guitar, ukulele, or other stringed instruments. The tuner uses a built-in sensor to detect the vibrations of the instrument's body or neck, providing accurate tuning by displaying the pitch of the note being played.
Clip-on tuners are popular because they are:
Compact and portable.
Easy to use.
Sensitive to vibrations, even in noisy environments.
Available for a variety of instruments, from guitars to violins and basses.
Step-by-Step Guide to Using a Clip-On Tuner
1. Attach the Tuner to Your Instrument
To start, clip the tuner onto the headstock or the neck of your instrument. Position the tuner so that the sensor is in contact with the body or neck, and the screen is facing toward you for easy viewing.
Tip: Ensure the clip is tight enough to stay in place but not too tight that it could damage the instrument.
2. Turn on the Tuner
Press the power button to turn the tuner on. Depending on the model, the tuner may automatically detect the note you're playing, or you may need to set it to the correct mode (e.g., chromatic, guitar, ukulele).
Tip: If you’re tuning a specific instrument, make sure the tuner is set to the correct instrument mode (such as "guitar" or "violin") for better accuracy.
3. Play the Open String
Pluck an open string (such as the low E string on a guitar or the A string on a violin) and let it ring out. The clip-on tuner will detect the vibrations and display the pitch on its screen. The screen typically shows the note name (like "E" or "A") and an indicator (usually a needle or a color) to show whether the note is in tune.
If the note is in tune, the display will indicate it is "centered" or show a green light.
If the note is sharp (higher than the target pitch), the needle or display will move to the right.
If the note is flat (lower than the target pitch), the needle or display will move to the left.
4. Adjust the Tuning Pegs
Based on the reading from the tuner, adjust the tuning peg for the string you are tuning.
If the needle moves to the left, the string is flat, and you should tighten the tuning peg.
If the needle moves to the right, the string is sharp, and you should loosen the tuning peg.
Tip: Make small adjustments to the tuning peg to avoid over-tightening or over-loosening the string. Gradually make fine-tuned adjustments until the needle or display is centered, indicating that the string is in tune.
5. Repeat for All Strings
Once one string is properly tuned, move on to the next string and repeat the process. Continue tuning each string until the entire instrument is in tune.
Advanced Tips for Using a Clip-On Tuner Like a Pro
1. Tune in a Quiet Environment
Although clip-on tuners work by detecting vibrations, external noise can sometimes interfere with their accuracy. Whenever possible, tune your instrument in a quiet space to get the most accurate readings.
2. Tune Multiple Strings at Once (For Guitars or Other Multi-String Instruments)
For guitars or other multi-string instruments, clip-on tuners can help you tune all strings in one go. Simply pluck the next string as you adjust the previous one, moving in order (e.g., E, A, D, G, B, E for guitar). If you prefer, tune one string at a time until all are properly adjusted.
3. Use the Calibration Feature
Some clip-on tuners come with a calibration feature that allows you to tune to different pitch standards (e.g., 440Hz for A or custom tuning). If you need to tune to a specific pitch or you are playing with other musicians using a different tuning system, use the calibration function to adjust the tuner accordingly.
4. Tune to a Specific Note for More Accuracy
If you’re tuning to a specific note rather than tuning the whole instrument, use the chromatic mode. This allows you to tune to any note (for example, tuning a violin’s G string to G3). Some clip-on tuners will also display the exact frequency (in Hz), helping you tune precisely.
5. Avoid Vibrations While Tuning
When tuning your instrument, try to avoid vibrating the instrument too much while adjusting. Strong vibrations can confuse the tuner, especially if you are tuning in a noisy environment.
Troubleshooting Common Clip-On Tuner Problems
1. Tuner Doesn’t Detect a Note
If the clip-on tuner isn’t detecting a note, check that it’s properly attached and securely positioned. Ensure the tuner is turned on, and that you are plucking the string clearly and evenly. If the problem persists, try repositioning the clip or checking if the sensor is clean and free from debris.
2. Tuner Shows an Incorrect Note
If the tuner is showing the wrong note, make sure it’s set to the correct mode. Check if the tuner is in the right instrument mode (e.g., "guitar" or "violin"). If it’s still showing incorrect notes, try recalibrating the tuner or restarting it.
3. Tuner Display Flickers
If the display is flickering or unstable, it may be due to excessive vibrations or loose connections. Make sure the clip is securely attached, and try tuning in a quieter, more controlled environment.
Conclusion
Using a clip-on tuner is an easy and effective way to ensure your instrument stays in tune. Whether you're tuning a guitar, ukulele, or violin, mastering the use of a clip-on tuner will save you time and frustration, helping you stay focused on your music. By following these simple steps, you’ll be tuning like a pro in no time. For even better results, make sure you choose a quality tuner and take advantage of the advanced features available, like calibration and chromatic tuning.